When you need to integrate information stored in Excel workbooks with web applications, APIs, or other systems, JSON format is often required. While Excel offers export options like PDF, CSV, and web pages, it doesn’t natively support JSON export. In this tutorial, you’ll discover multiple methods to export Excel to JSON and learn how to set up automated data flows for more efficient data conversion.
What are the methods to export Excel to JSON?
- Coupler.io (Automation software)
If you’d like to export Excel to JSON with just a few clicks, consider Coupler.io. It’s a data and analytics automation app that enables users to send data from business apps to spreadsheets, data visualization tools, and data warehouses. You can also transform your data, blend it with other data sources, and schedule refreshes for automated reporting.
- Manual JSON formatting
Excel doesn’t offer the JSON format as one of its export options, so there’s no built-in feature that can transform your data for you. However, you can copy the Excel data, paste it into a text editor, manually format it as JSON, and save it to a file. This method will be tedious for large datasets, but it should work fine for small tables.
- Custom Python script
Python is a programming language that allows anyone to manipulate data using code. With basic coding skills, you can use a simple Python script to convert Excel files to JSON files. This process requires Python and two libraries (Pandas and Openpyxl). Then, you’ll be able to use the script to load the Excel file, convert it to JSON, and save it to a file.
Transform Excel to JSON with Coupler.io
This no-code tool allows you to automate Excel to JSON effortlessly, creating an online JSON file that you can access via URL or download. All you need to do is follow three easy steps and let Coupler.io do all the work for you.
Step 1. Collect Excel data
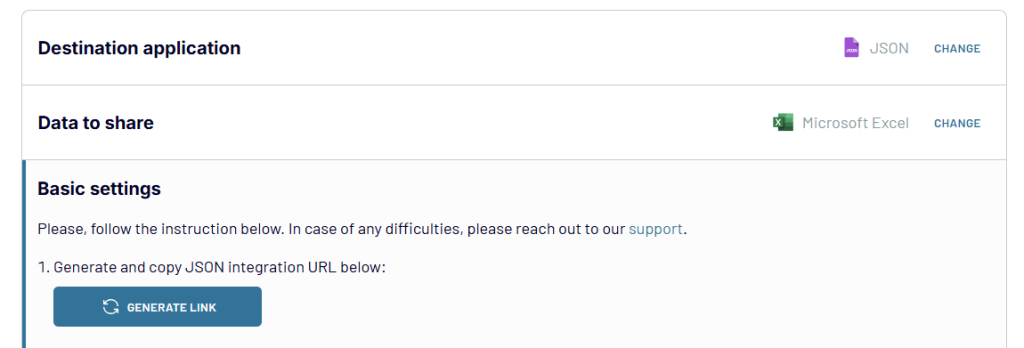
Get started with the form below, where we’ve preset Microsoft Excel as a source app and JSON as the destination. Click Proceed to create a dataflow right away.
If you’re a new user, you’ll be required to sign up for an account (free trial available).
Authorize your Microsoft Excel account and select the file and sheet(s) to export data from. You can add multiple worksheets from your Excel workbook to combine their data into one view.
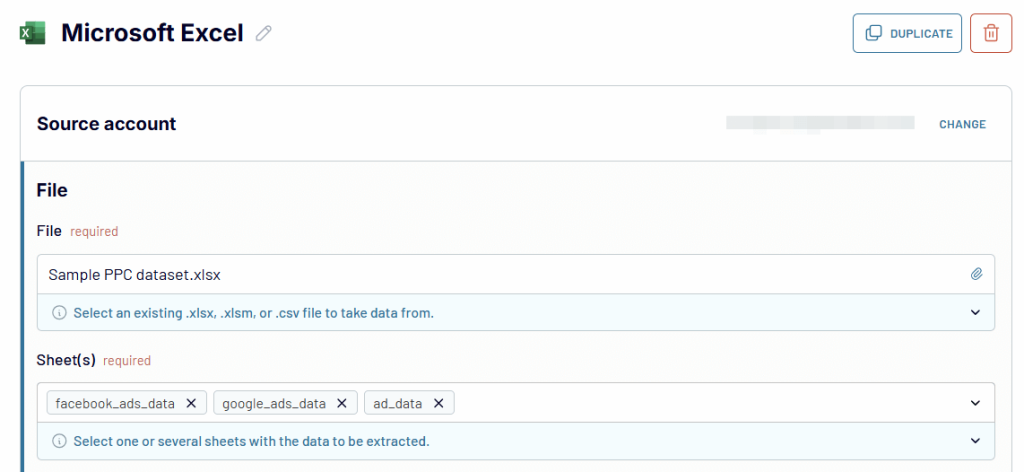
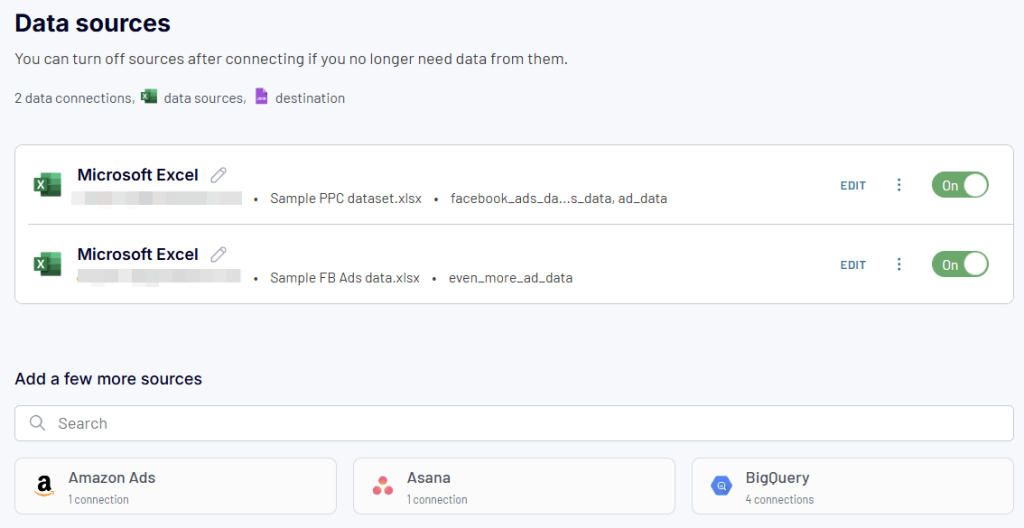
Coupler.io also allows you to merge data from multiple workbooks and blend Excel data with information from other sources like Google Sheets, Airtable, and more in one JSON output. For this, find the necessary source and connect to it.
Step 2. Organize and transform data
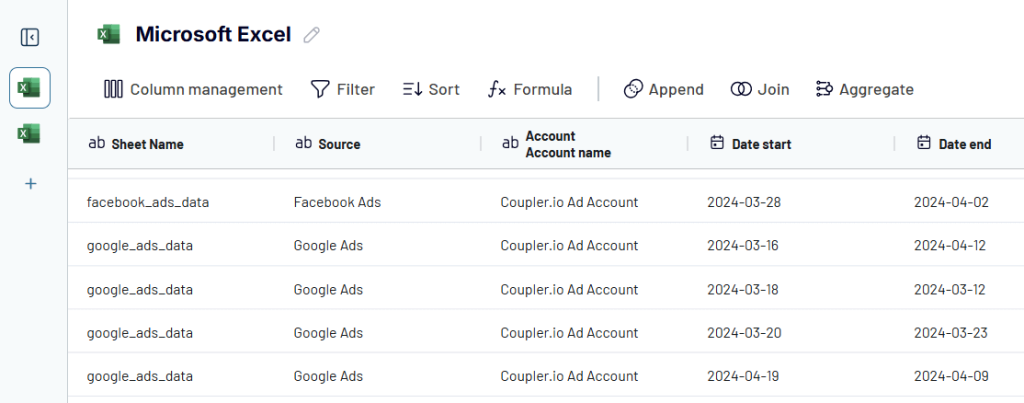
Preview your data and transform it if necessary. You can:
- Rename, rearrange, hide, or add columns
- Filter data based on certain criteria
- Sort data in ascending or descending order
- Create new columns using formulas
- Aggregate data using operations like sum, avg, count, min, or max.
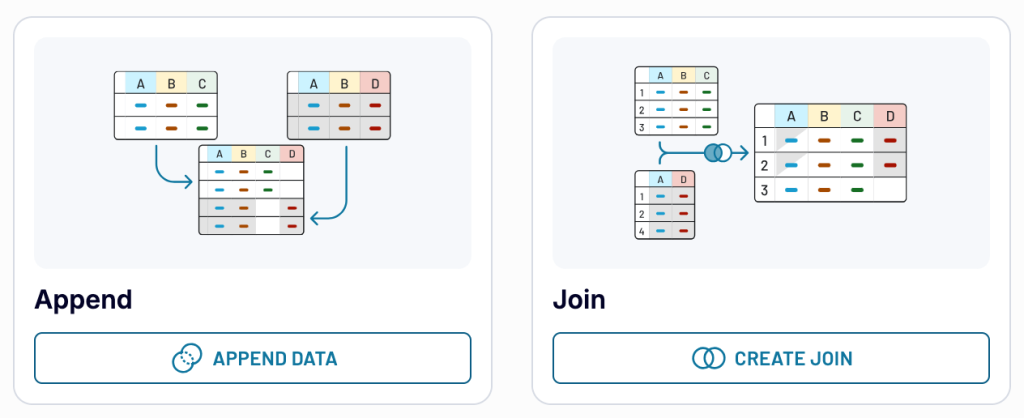
Note: If you’ve added two or more sources, you can blend the data using:
- Append: combine datasets with similar structures and columns matched by name.
- Join: merge datasets with different structures and at least one matched column.
If you’d like to combine data from multiple sources, use the sidebar on the left to find the modes available. Otherwise, move on to the next step.
Step 3. Load data and schedule refresh
To export your Excel data as JSON, you’ll need to generate a URL. When you access this URL in your browser, your data will be downloaded as a JSON file. Alternatively, you can use the URL to connect to other applications that accept JSON data without needing to download the file manually.
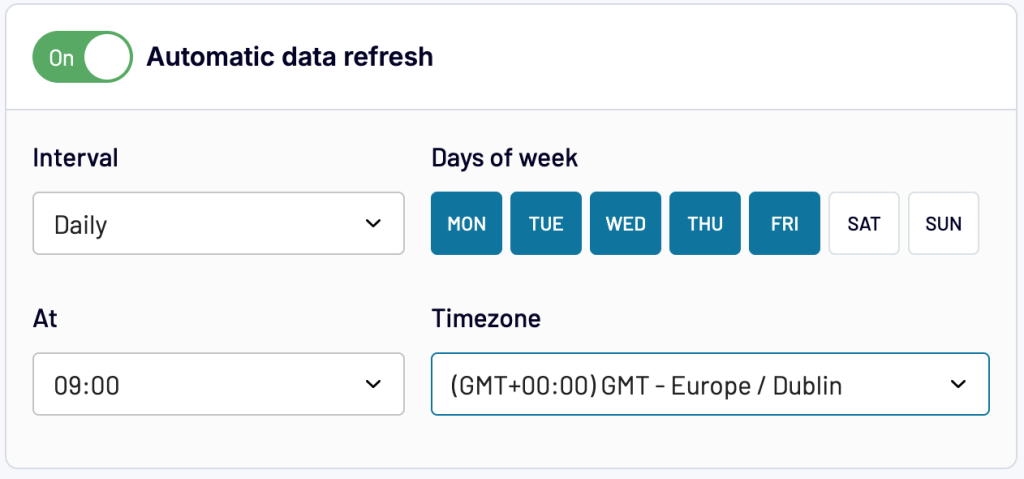
Next, turn on automatic data refresh. Specify the preferred interval, days of the week, hours, and time zone. It will pull new data from the Excel workbook and update the JSON destination. You can set the interval as daily, hourly, or every 15 or 30 minutes.
When you’re done, hit Save and Run to save the settings and start the conversion process. With Coupler.io, you can now have an always-up-to-date JSON version of your Excel data that refreshes automatically. This will save you time and ensure data consistency across your systems.
Manually convert Excel to JSON file
An alternative method is to manually convert your Excel data to JSON format. All you need to do is copy the data from Excel and paste it into a text editor. You can use a desktop or web-based editor such as vscode.dev. Next, you’ll need to structure it according to JSON syntax and then save it as a .json file.
To convert your Excel data to JSON manually, follow these steps:
- Copy your Excel data, including headers
- Paste into a text editor
- Format according to these JSON syntax rules:
- Use double quotes around keys and string values:
"name": "Sarah" - Put curly braces
{}around each JSON object (row) - Use square brackets
[]to define an array of objects - Separate key-value pairs with commas
- Don’t put quotes around numbers or boolean values
- Use double quotes around keys and string values:
When converting tabular data to JSON, the header column names become the keys and each row’s data becomes the values (key-value pairs). This structure is particularly useful for web developers working with JavaScript and HTML applications.
Here’s a sample datatable from Excel spreadsheets:
| Name | Age | Skills | Street | City | |
| Peter | 28 | peter@example.com | Python, Excel, Power BI | 256 Middle St | New Jersey |
Here’s the data in JSON format:
{
  "name": "Peter",
  "age": 28,
  "email": "peter@example.com",
  "skills": ["Python", "Excel", "Power BI"],
  "address": {
    "street": "256 Middle St",
    "city": "New Jersey"
  }
}
Common JSON syntax mistakes include missing quotes around keys, using single quotes instead of double quotes, missing commas between key-value pairs, and putting numbers in quotes.
JSON is quite strict, and small errors can break the format. You need to understand the syntax and pay attention to every single detail when using this method.
The manual way of converting tabular data from Excel to a JSON file can be time-consuming. Although it may work for small tables, it’s not advisable for large datasets.
Export Excel to JSON using Python
If you have some technical knowledge, using a script to convert Excel data to JSON format is more efficient. Let’s see how you can do this using Google Colab – a web app that lets you write and execute Python in your browser. These are the steps to convert Excel to a JSON file:
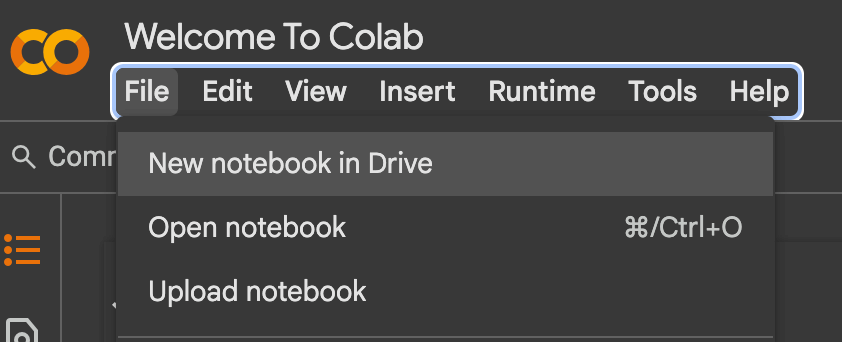
- Open Google Colab and create a new notebook. When it opens, name the notebook.
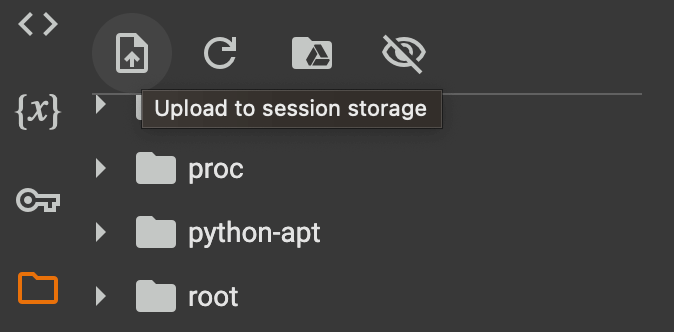
- Click the Files icon on the sidebar and select the Upload icon to upload your Excel file. Once your file has been uploaded, click the menu beside it and copy the path.
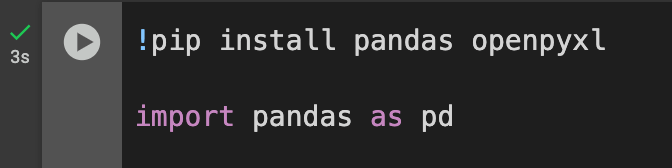
Now, you can enter the code editor area and paste a Python script. The sample script below will install the required libraries, load the Excel file into a dataframe, convert the data to JSON, save it to a file, and trigger a download to your device.
!pip install pandas openpyxl

import pandas as pd

# Load the Excel file
file_path = "/content/Employee Records.xlsx"  # Change this to your uploaded file name
df = pd.read_excel(file_path)

# Display the first few rows
df.head()

# Convert DataFrame to JSON format
json_data = df.to_json(orient="records", indent=4, date_format="iso")

# Print JSON output
print(json_data)

# Save JSON to a file
json_file_path = "/content/data.json"
with open(json_file_path, "w") as json_file:
   json_file.write(json_data)

print(f"JSON file saved at: {json_file_path}")

#download the file
from google.colab import files

files.download(json_file_path)
The script uses pandas to parse the Excel data and convert it to the desired format. Make sure to provide the correct file path so the script can load the Excel data. Then, you can run the script by clicking the Run cell icon. See it below:
If everything goes well, the cell output area will display the first few rows of your data. Then, you’ll see the JSON file being downloaded to your device immediately.
If there are any errors, you can always edit the script and run the cell again. For example, Pandas automatically converts dates to timestamps, and this would display a bunch of numbers, i.e., milliseconds. To fix this, we had to edit the script and specify a date format so each date could be properly formatted in the JSON file.
The Python script method may seem complex to a non-technical person, but it’s quite efficient for JSON conversion if you can use it. Remember that you can encounter bugs, which may take a lot of time to discover and fix. Also, this code-based method only works for static files, so you can’t use it to automate directly from your Excel workbook.
Automate Excel to JSON: Which method to use?
Microsoft Excel allows users to export in formats such as XLSX, CSV, TXT, and PDF. It doesn’t support JSON format, which is essential for web development, API integration, and data exchange between different systems. While Excel can export to XML format, this requires additional conversion to get to JSON. The methods above can help transform Excel to JSON. You can choose the option that suits your needs the most and consider factors such as ease of use, how technical it is, and the cost involved.
Let’s compare these options.
- Custom Script: It’s free to run since most IDEs are open-source and readily available. But using code can be quite daunting, especially if you have zero to no experience. You can also feel frustrated when your code doesn’t execute successfully or when the file output isn’t properly formatted.
- Manual formatting: Copying data from your Excel workbook and changing the format to JSON can be tedious and time-consuming. While you can use it to convert small and one-time tables, it’s definitely not an efficient option for large datasets or frequent exports. It also requires knowledge of JSON syntax
- Coupler.io: You only need a few clicks to export Excel to JSON. It can automate data flows from over 60 sources to any popular destination of your choice. You can use your data to power live dashboards and gain near real-time insights. Coupler.io is very easy to use, great for non-techies, and offers a free trial with no credit card required.
Try Coupler.io for free today!

Automate exports from and to Excel with Coupler.io
Get started for free