With API to Looker Studio integration, you can automate data load from cloud apps to keep reports up-to-date. It helps save time and eliminates the need for any manual export/import. If you’re tech-savvy, you can write a few lines of code for the integration. However, you can also use a no-code solution and import your data in just a few clicks. Let’s explore how both options can be used to import data from APIs regularly.
Ways to connect API to Looker Studio
- Coupler.io (no-code):
This is a reporting automation platform designed to easily transform raw data into insightful reports. Coupler.io supports over 60 data sources and allows users to connect API to Looker Studio. To get started, you will need basic API knowledge and to research the API documentation of your source app. After setting up the Coupler.io importer, turn on data refresh and add a custom schedule to import data automatically.
- Custom scripts (code):
If you have strong coding skills, you can create a script to connect API to Looker Studio. This can be done using any programming language or via Google Apps Script. First, check the API documentation for connection details. Then, create a script to extract data and load it into a spreadsheet or database that connects natively to Looker Studio.
How to integrate API to Looker Studio without coding?
To get started, click Proceed in the form below with the JSON as the source app and Looker Studio as the destination app. You’ll be offered to create a Coupler.io account for free (no credit card required).
Then, continue with the steps below to connect API to Looker Studio:
Coupler.io also supports other destinations and lets you connect API to Google Sheets, BigQuery, etc.
Step 1: Collect data
- Insert a valid JSON URL of your REST API and select an HTTP method.
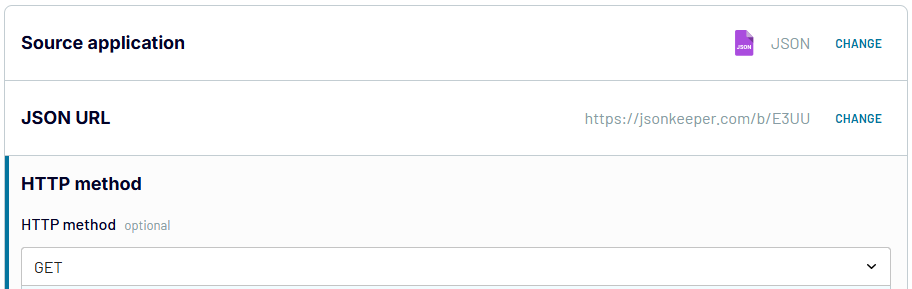
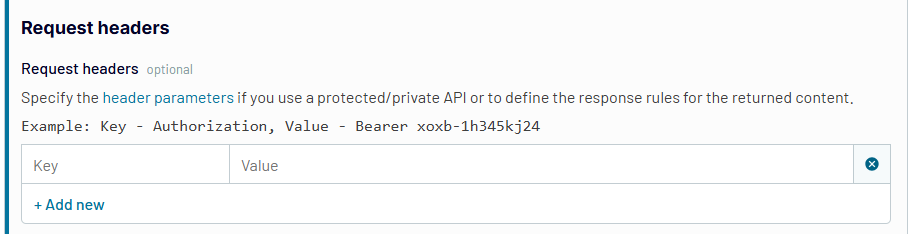
- Specify the request headers, such as Authorization, Content type, etc.
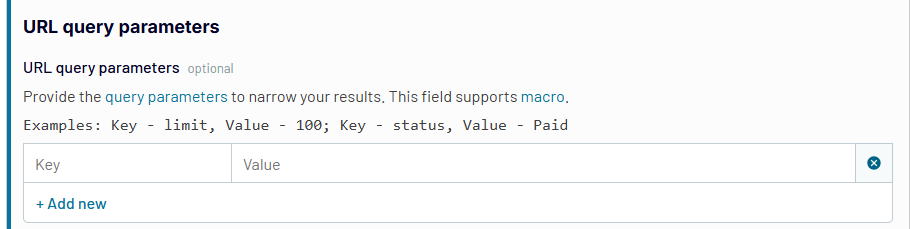
- Provide any filter or query parameters needed for your import.
Columns and Path fields allow you to mention columns and also retrieve nested objects. However, these settings are optional and may not apply to your API use case.
Refer to your application’s API documentation for the required API authentication, specific API endpoints for each data category, and query parameters that may apply.
Step 2: Organize and transform
You can preview the data loaded from your API and transform it before loading to Looker Studio. For example, you can:
- Hide, edit, or rearrange columns
- Sort and filter data
- Add new columns using formulas
- Aggregate data using operations like sum, average, count, min, or max on specific columns
- Merge data from two or more sources

Step 3: Load data and schedule refresh
Follow the instructions to authorize the custom connector in Looker Studio. Once you click Generate data source, you’ll be redirected to Looker Studio. Click Connect to load and display your data. Once loaded, you can explore the data and create a report using it.
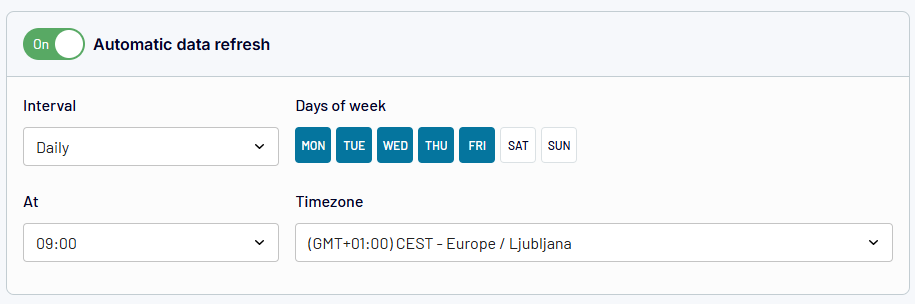
Return to the importer and specify the optional settings (date range dimension, parameters, and calculated fields, etc). Or you can proceed to Set up a schedule. First, turn on Automatic data refresh and select the interval, preferred days, and timezone.
Once you’re done, click Save and Run importer to save the settings. Depending on the set schedule, your Looker Studio report will be refreshed automatically.
How to send API data to Looker Studio using code?
Looker Studio doesn’t directly support API connections. Instead, you need to pull data into an intermediary app such as Google Sheets or BigQuery first and then use the native connector to load it for report creation.
Let’s see how you can use Apps Script to connect API to Looker Studio. It involves two steps:
Step 1. Extract data from API to Google Sheets
Now, let’s create a function to pull JSON data from our source.
- Go to script.google.com and click New project in the top-left corner.
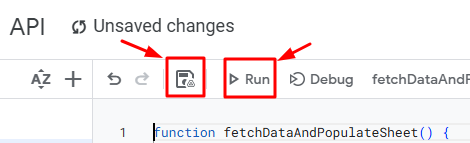
- In the script editor, write or paste a script and click Save.
Here’s a script that gets data from a basic JSON API that does not require any authorization and sends it to Google Sheets:
function fetchDataAndPopulateSheet() {
  const url = "https://jsonkeeper.com/b/E3UU";
  const spreadsheetId = "1Y5rUBRZcK-HE5UMp2VvAPyBx8RpZdUNFE9Qs4SgyDlQ";


  try {
    const response = UrlFetchApp.fetch(url, { validateHttpsCertificates: false });
    const data = JSON.parse(response.getContentText());


    const spreadsheet = SpreadsheetApp.openById(spreadsheetId);
    const sheet = spreadsheet.getSheetByName("data");
    if (!sheet) {
      Logger.log("Sheet 'data' not found.");
      return;
    }


    sheet.clearContents();


    // Gets the header row from the first data item
    const headerRow = Object.keys(data[0]);


    // Writes the header row to the sheet
    sheet.getRange(1, 1, 1, headerRow.length).setValues([headerRow]);


    // Writes the data rows
    for (let i = 0; i < data.length; i++) {
      const row = i + 2;
      const item = data[i];


      let col = 1;
      for (const key in headerRow) {
        const columnName = headerRow[key];
        sheet.getRange(row, col).setValue(item[columnName]);
        col++;
      }
    }
  } catch (error) {
    Logger.log(`Error fetching or processing data: ${error}`);
  }
}
You need to insert the API URL and the spreadsheet ID (it’s usually after docs.google.com/spreadsheets/d/…). Also, specify the exact sheet to import data into. Remember that the script only works for APIs with no authorization.
- Make sure to save and run your script.
Next, you’ll be prompted to authorize permissions. A pop-up will ask you to choose a Google account and allow full access to Google Sheets spreadsheets.
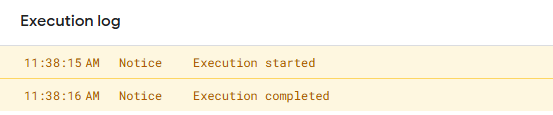
Then, Apps Script will proceed to execute the code and import data into the specified Google Sheet. If successful, the execution log will be free from errors like this:
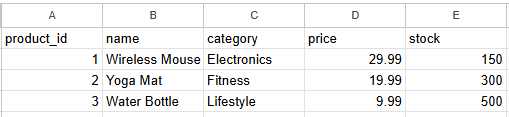
The spreadsheet and sheet will be populated with JSON dataset from the API.
Step 2. Connect Google Sheets to Looker Studio
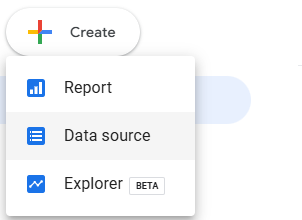
Open Looker Studio and click Create a new data source.
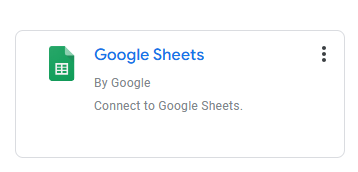
Select Google Sheets from the list of Looker Studio connectors.
Choose the spreadsheet and sheet, then load your data. You’ll be able to preview it.
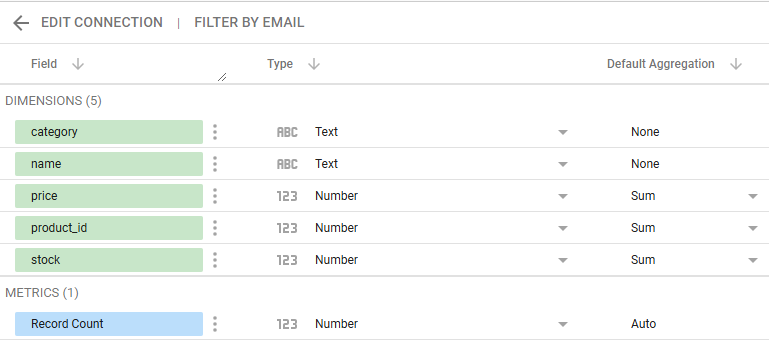
Then, you can create reports and proceed with your data visualization and analysis.
Step 3. Automate imports on a schedule
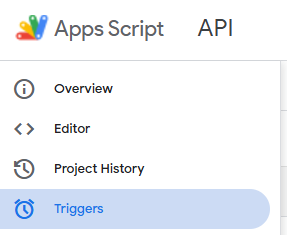
To refresh data in Apps Script, go to Triggers (the feature is on the left menu bar).
Click the Add Trigger button on the bottom-right corner.
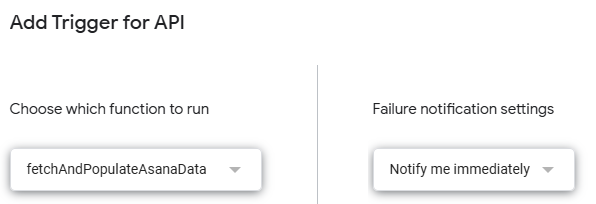
Now, you’ll proceed to add the settings for your Trigger. These include the function to run, deployment to run, event source, type of time-based trigger, time of the day, and failure notification settings.
Make sure to save the settings to automate your simple API integration function.
To check successful or failed executions, click the three-dot menu on the trigger
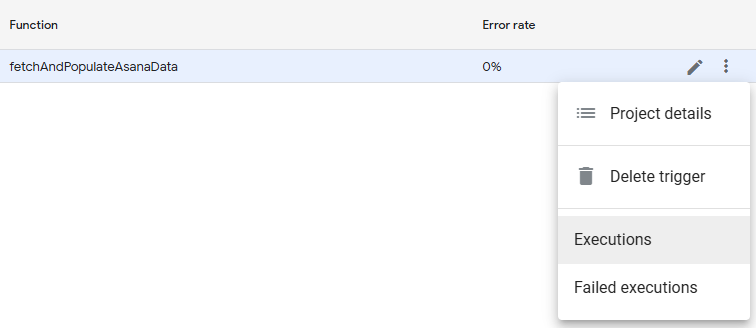
Perfect! That’s how you can automate data imports using Google Apps Script.
What auth methods for APIs might you encounter?
You may come across different methods for authorizing access to your REST APIs. Let’s discuss the common ones you’ll find in many web applications:
- Basic auth
This is a simple authentication method that involves adding your account username and password to the request header. Check out the code example below:
function fetchDataWithBasicAuth() {
  const username = 'your_username';
  const password = 'your_password';


  const encodedCredentials = Utilities.base64Encode(username + ':' + password);
  const headers = {
    'Authorization': 'Basic ' + encodedCredentials
  };


  const response = UrlFetchApp.fetch('https://api.example.com/data', headers);
  const data = JSON.parse(response.getContentText());


  console.log(data);
}
- Personal Access token
You’ll generate a private token in your dashboard and use it in the script. See the code example below:
function fetchDataWithToken() {
  const token = 'your_personal_access_token';


  const headers = {
    'Authorization': 'Bearer ' + token
  };


  const response = UrlFetchApp.fetch('https://api.example.com/data', headers);
  const data = JSON.parse(response.getContentText());


  console.log(data);
}
- API key
This requires a key from your web app’s settings to be included in the request header. Here’s an example:
function fetchDataWithApiKey() {
  const apiKey = 'your_api_key';


  const headers = {
    'X-API-Key': apiKey
  };


  const response = UrlFetchApp.fetch('https://api.example.com/data', headers);
  const data = JSON.parse(response.getContentText());


  console.log(data);
}
- OAuth2.0
This is much more complex because there are more steps involved. First, you’ll send a request to obtain an authorization code. Next, you will use that code to retrieve an access token and a refresh token. This can be done on an API platform like Postman or directly in the script.
Do you need a custom integration to connect API to Looker Studio?
Connecting API to Looker Studio using code is a very tedious process. However, it can be less technical when using Apps Script and if your API has little to no authorization requirements. While custom script offers flexibility and control over your data, it does require coding knowledge and is prone to errors, which can be frustrating for non-technical users.
A convenient and intuitive option is to use a no-code platform like Coupler.io. It allows users to connect API to Looker Studio in just a few clicks. Coupler.io also connects over 60 APIs for marketing and sales as ready-to-use integrations with Google Sheets, Microsoft Power BI, Looker Studio, etc. Furthermore, Coupler.io offers Looker Studio templates that can help streamline your reporting process.
Explore more on this in our blog posts:
Ultimately, it’s up to you to decide whether a custom integration suits your needs better. Both methods can be highly beneficial when you need to analyze API data in Looker Studio.
Automate Looker Studio reporting with Coupler.io
Get started for free