The Power BI If statement is a function that allows you to specify a condition, checks whether the condition is true or false, and then returns one of two values as required. You can use it to perform calculations, add new columns, and conduct logical tests on your data.
Power BI allows you to use the IF statement in two ways – as a DAX function or within the Power Query tool. In this article, we’ll discuss the syntax for writing IF statements and also learn how to use the Power BI IF statement.
What is the Power BI syntax for IF statement?
The IF statement is a logical test that determines the exact values to be displayed. Let’s see the syntax for writing the DAX IF function and the Power Query IF statement.
DAX IF Function Syntax
IF(<logical_test>, <value_if_true>[, <value_if_false>])
Parameters
- Logical_test – An expression that can be evaluated as TRUE or FALSE.
- Value_if_true – The value to return if the logical test is TRUE.
- Value_if_false (optional) – The value if FALSE. Returns BLANK if omitted.
Return value
Value_if_true, or value_if_false, or BLANK.
Power Query IF Statement Syntax
If if-condition then true-expression else false-expressionParameters
- If-condition – The condition to evaluate
- True-expression – The value to return if TRUE
- False-expression – The value to return if FALSE
Return value
True-expression or False-expression
Let’s connect your data first
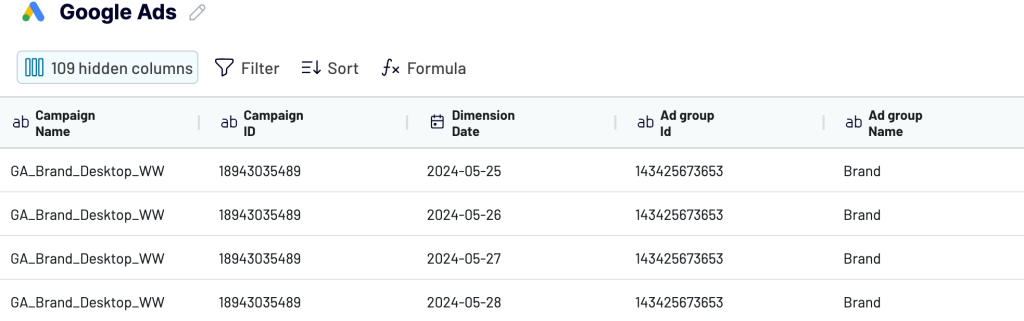
Before we proceed with IF statement samples and use-case, let’s connect real data to your Power BI report. You can connect your data source to Power BI with the help of Coupler.io. This no-code connector extracts data from over 50 apps, such as QuickBooks, Xero, Google Ads, Google Analytics, Stripe and more. It can also refresh your data in Power BI on a schedule, keeping it always up to date.
To get started, select your data source from the dropdown in the widget below and click the Proceed button.
- Connect the source account, choose the specific file, and proceed to transform your data. You can rearrange columns, sort and filter data, and add new formula-based columns. The Transform step is also useful for previewing the dataset.
- Next, you’ll need to copy the integration URL to connect the importer to Power BI. You can also toggle on Automatic data refresh and set the schedule. Then, go to Power BI, click Get data from another source > Other > Web > Paste link. If successful, you should be able to preview your data in the Power Query editor.
Apart from automating with Coupler.io, you can manually import data into Power BI by uploading a CSV or Excel file or connecting to a database or online service.
How to create a Power BI new column with an IF statement?
In this section, we show you how to use the DAX IF function and Power Query IF statement to create a new column in Power BI.
There are two methods for creating a new column with an IF statement in Power BI. You can use the DAX IF function or the Power Query IF statement. Before using either of them, define the condition you’d like to check and the unique return values.
DAX IF function
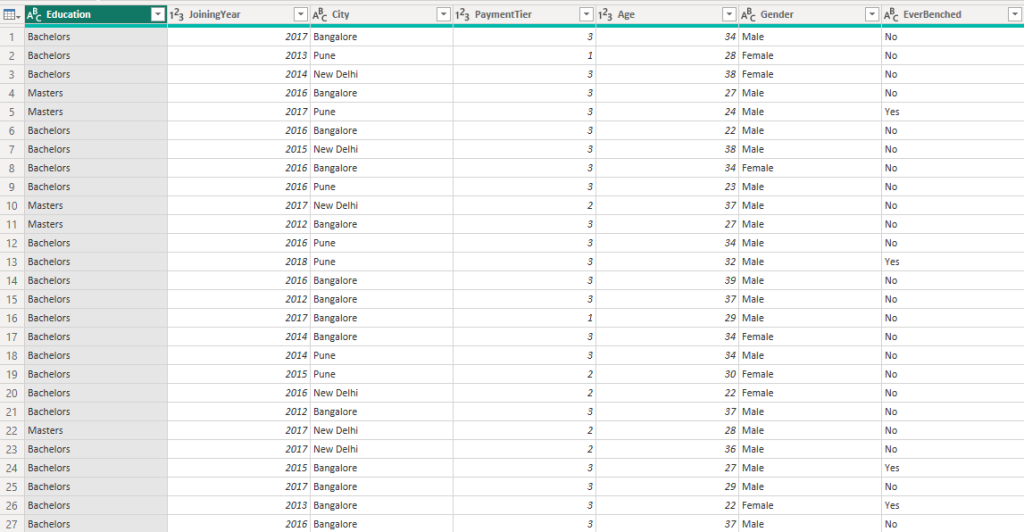
Data Analysis Expressions (DAX) is a formula expression language that allows you to perform advanced queries and calculations on your data. Let’s see how to create a new column with a single condition using the DAX IF function in Power BI. In this example, we’ll use the joining year to determine if the employee is long-tenured or short-tenured.
- Switch from Report view to data table view.

- Right-click on any existing column and click New column.
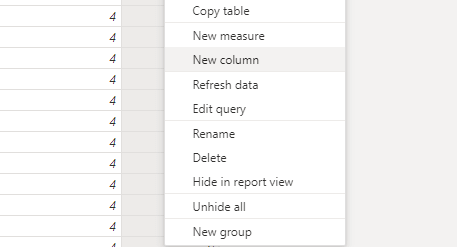
An empty column will be added to the table.
- Go to the formula bar, write your IF statement, and press Enter.
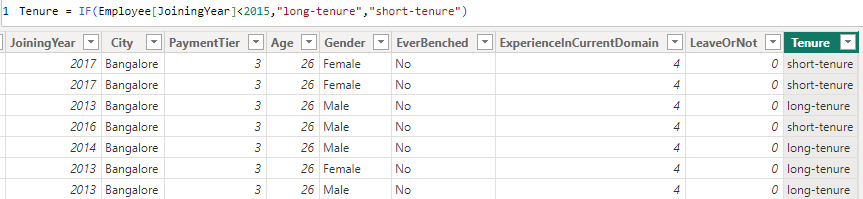
First, you need to write your column’s name and write IF to open the DAX function. Next, write out the condition to evaluate, the value if true, and the value if false.
Here’s the DAX IF function used in this example:
Tenure = IF(Employee[JoiningYear]<2015,"long-tenure","short-tenure")This is a single condition IF statement that simply checks if the employee joining year is less than 2015. It outputs long-tenure if true but displays short-tenure if higher than that.
Power Query IF statement
Power Query M is a case-sensitive formula language allowing you to perform data modeling and data mashup within Power Query. It has an IF statement that supports conditional evaluation. Let’s see how to use the Power Query IF statement with a new column in Power BI. In this example, we’ll use the payment tier to check if an employee is eligible for a bonus.
- Go to the Home tab and click on Transform data
This should open the Power Query Editor window.
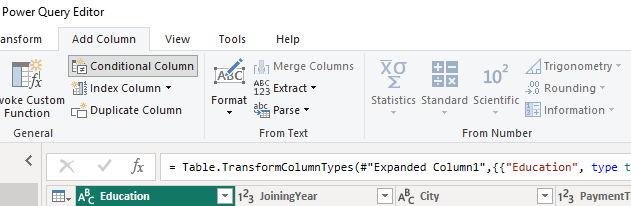
- Click the Add Column tab and choose Conditional Column
- You’ll see a dialog box for adding a conditional statement.
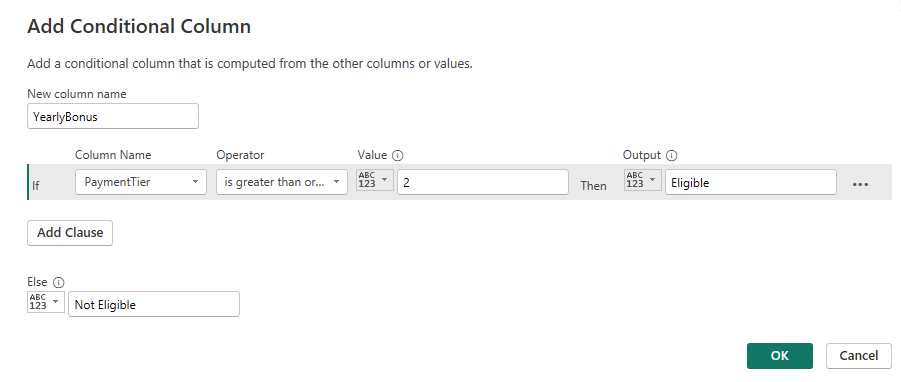
The syntax for Power Query IF function is actually easy to write. At the top, you will add the new column name before specifying the IF condition. Use the dropdown to add the Column name, Operator, Value, Output, and the Else Output. Then click OK.
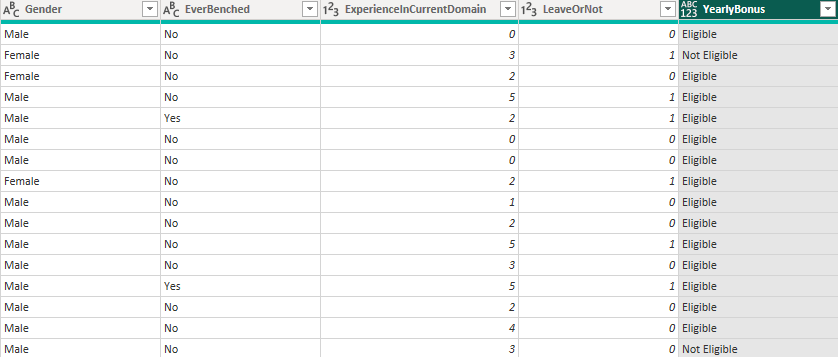
- Here’s the new column that was added using the Power Query IF statement.
Here’s the Power Query IF statement used in this example:
If PaymentTier is greater than or equal to 2 Then Eligible Else Not EligibleIt’s a single condition IF statement used to create a conditional column in Power Query. If the specified expression is true, it would output eligible, else it would display not eligible.
How to write Power BI if statement with multiple conditions?
Sometimes, there may be multiple conditions to check and multiple values to output.
Let’s add a new column with multiple conditions using the Power Query IF statement. In this tutorial, we’ll use sales quantity to evaluate the sales ranking for each seller.
- Go to the Power Query editor using the same steps above, then click the Add Column tab and select Custom Column to write multiple conditions.
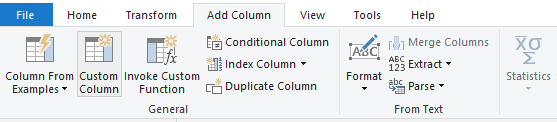
- You’ll see a dialog box for creating a custom column.
- Here’s the newly added column with multiple conditions in Power Query.
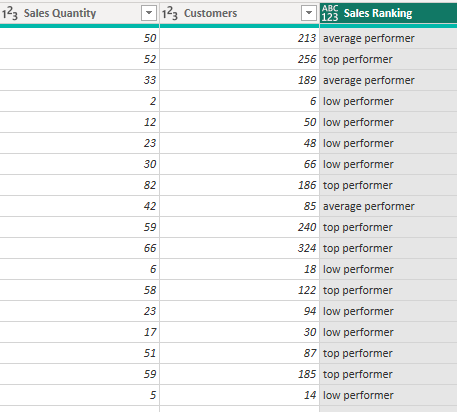
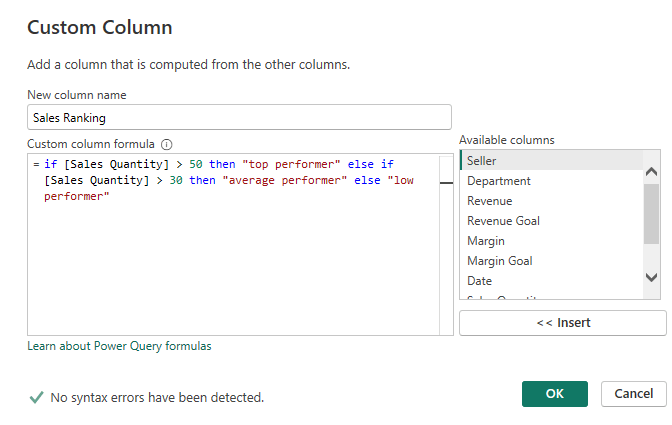
Below is the Power Query IF statement used in this example:
if [Sales Quantity] > 50 then "top performer" else if [Sales Quantity] > 30 then "average performer" else "low performer"This means that if the sales quantity exceeds 50, it would say top performer. If the sales quantity is greater than 30, the output would be average performer. Anything else would say low performer. You should note that text values should be placed in double quotes to avoid errors.
How to write a nested IF statement in Power BI?
The nested IF statement allows you to write multiple conditions using the Power BI DAX IF function. We’ll show you how you can do this easily. In this example, we’ll use the revenue and revenue goal columns to evaluate the revenue goal status in our data.
- Switch to table view, right-click to create a new column, and edit the formula bar.

Here’s the IF DAX function used in this nested if statement example:
Revenue Goal Status = IF(department_store_dataset[Revenue] > department_store_dataset[Revenue Goal], "Goal Exceeded",IF(department_store_dataset[Revenue] = department_store_dataset[Revenue Goal], "Goal Achieved", "Goal Not met"))This checks if the revenue is greater than the revenue goal and says, “Goal Exceeded”. If revenue is equal to revenue goal, it says “Goal Achieved”. Anything else, it says, “Goal not met”.
How to make a Power BI calculated column with an IF statement?
If your dataset is missing a field, you can create a calculated column using Power BI DAX. This allows you to combine text values or calculate numeric values from other fields. In this example, we make a calculated column for the person’s age when employed.
- Go to the Data pane in Power BI, right-click on the table, and click New Column. Once the column is added, click it to open up the formula bar.

- Below is the calculated column that shows the age when an employee joined.
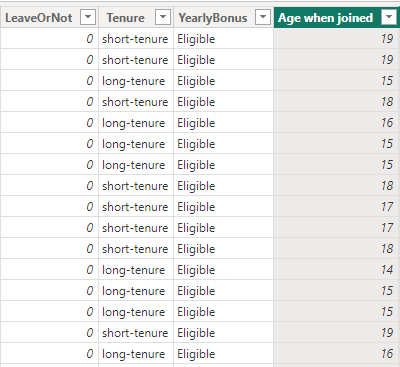
Here’s the DAX IF function for this calculated column:
Age when joined = IF(2024 - Employee[Age] > 0, Employee[JoiningYear] - (2024 - Employee[Age]))This statement checks if the employee’s birth year is greater than 0. Then, it calculates the employee’s birth year and finally subtracts it from the employee’s joining year. Since the value_if_false parameter is optional and not needed, we don’t have to include it here.
How to create a Power BI new column with an IF statement from another table?
It’s possible to use one or two columns from another table to define a condition for a Power BI IF statement. All you need to do is choose from the available DAX functions that help manage relationships between tables. They include RELATED, FILTER, RELATEDTABLE, and LOOKUPVALUE. You can use any of these functions to perform calculations or logical tests with data from another table directly within an IF statement.
Here’s a DAX IF statement that involves another table:
Name =
IF(
    NOT(ISBLANK(RELATED(store[Seller]))) && NOT(ISBLANK(Employee[Gender])),
    RELATED(store[Seller]) & ", " & Employee[Gender],
    BLANK()
)
This statement checks if the related column and the second column aren’t blank, then proceeds to add both columns together with a comma and space in between. If these two columns are empty, the resulting value would be a blank value.
Note: The RELATED function will not work if there’s no relationship between the columns involved. To create a relationship, you need to switch to Model View, drag the column to the second column to show the connection, and choose the remaining settings. Make sure to refresh your dataset to apply the new relationship changes.
How to use Power BI if statement with text?
Whether you’re using the DAX IF function or the Power Query IF statement, it’s allowed to include columns and return values that contain other data types, such as text. This means that the value_if_true shows accuracy using some descriptive text, and the value_if_false would also explain otherwise using text. When using text in either the condition or the values, you should remember to wrap the text in double quotes (“”).
Here’s a DAX IF statement with text values:
Career Level = IF('Employee'[ExperienceInCurrentDomain] >= 4, "Executive-level", IF(Employee[ExperienceInCurrentDomain] >= 2, "Middle-level", "Entry-level"))It helps to use the years of experience for employees to determine their career level.
How to use Power BI IF statement with dates?
You can use the IF statement in Power BI with dates by combining with date-related DAX functions and formulas. The expression you’re trying to create would determine the type of date DAX function that’s best suited for your columns with date values. For example, TODAY returns the current date; NOW returns the current date and time; DATEDIFF calculates the difference between two dates; FORMAT specifies the date format, YEAR, MONTH; and DAY extracts the Year, Month, and Day from a particular date, and so on.
Here’s a DAX IF statement for dates:
TaskStatus =
IF (
    'Employee'[TaskDeadline] < TODAY(),
    "Past Due",
    IF (
        'Employee'[Task Deadline] = TODAY(),
        "Due Today",
        "Upcoming"
    )
)
This statement checks if the employee’s task deadline is past due, due today, or upcoming.
How to use Power BI if statement between two values?
The IF statement in Power BI allows you to compare values and expressions. You can use logical operators such as && (And) and || (Or) to check two expressions. The && condition will only return true if both expressions are true. The || condition can return true if one is true but returns false if both are false.
Here are examples: ([country] = “Poland” && [age] > 18), ([gender] = “female” || [height] < 5’6), and ([project]) = “Completed” && ([deliverables]) = ”Submitted”. More comparison operators in Power BI DAX that can be used in IF conditions include ==, >=, <=, and <>.
For more information on working with data in Power BI, check our Power BI tutorial.
Summary: Using the if statement in Power BI
There are two ways to create a new column with Power BI IF statement – the IF DAX function and the Power Query IF statement. Both have slightly different syntaxes but are used to achieve the same goal. They can be used to write IF statements for a single condition, multiple conditions, text values, and so on. It’s up to you to choose the most convenient way of creating columns for your Power BI IF statements.
To replace multiple dependencies from custom data connectors and API calls, use Coupler.io. There is no better alternative for bringing your marketing, financial, or sales data to Power BI reports.
Connect your data source to Power BI with Coupler.io
Get started for free