Analyzing raw data from your Shopify store can be overwhelming, making it harder to extract meaningful insights and make informed decisions. Additionally, native reporting in Shopify is limited and doesn’t allow you to analyze your data further. In contrast, Google Sheets allows for custom analysis, filtering, and visualizations that Shopify’s built-in reports lack.
In this article, we’ll walk you through a quick and easy way to connect Shopify to Google Sheets so that you can track sales, monitor inventory, and analyze your eCommerce data to grow your business.
Shopify to Google Sheets integration by Coupler.io
We are going to start with an easy-to-implement, no-code method. Plus, with this workflow, your data will be updated on a schedule you select.
To automate the process of exporting Shopify data to Google Sheets, you can use Coupler.io. It allows you to automate data flows from your Shopify account and load information about orders, customers, and other entities into Google Sheets and data visualization tools.
Sounds good? Here’s a step-by-step tutorial to help you export Shopify products and other data entities:
Step 1: Extract your Shopify data
Click Proceed in the form below to sign up for Coupler.io for free and create a data flow between Shopify and Google Sheets.
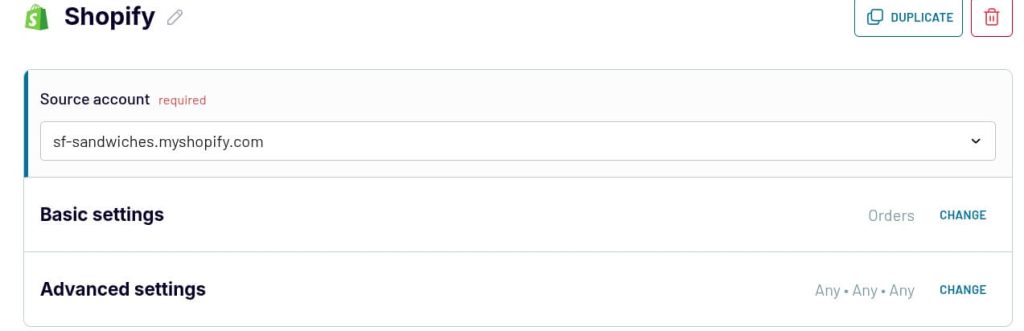
Next, connect to your Shopify account and enter your shop name.
Select the data you wish to export. You have a variety of options to choose from, including orders, products, and inventory.
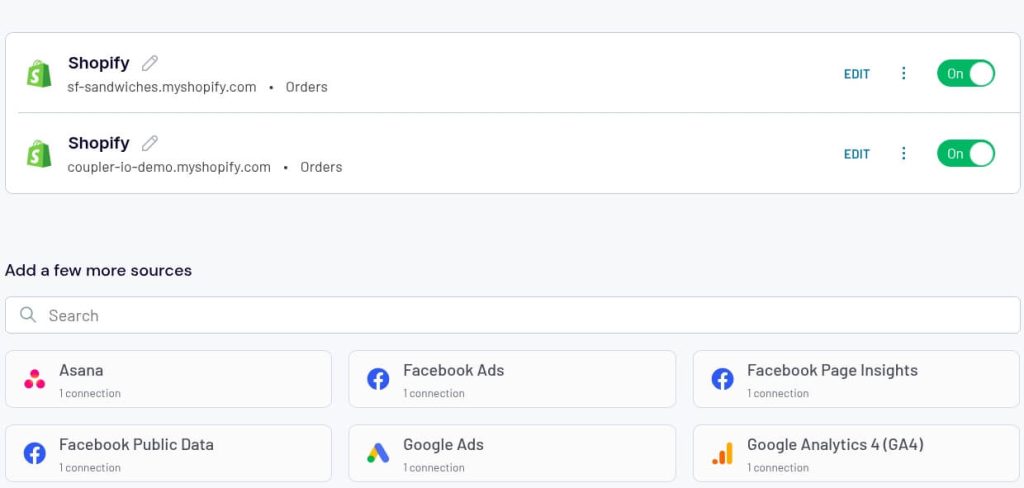
At this point, you can connect multiple data sources. For example, it’s possible to add another Shopify store or even a different data entity like a CRM (Pipedrive, HubSpot). This is helpful if you want to implement cross-channel data analysis and consolidate all your insights into a single dashboard or report.
For our example, we will connect two Shopify stores and export the data to Google Sheets.
Step 2: Preview and transform your data
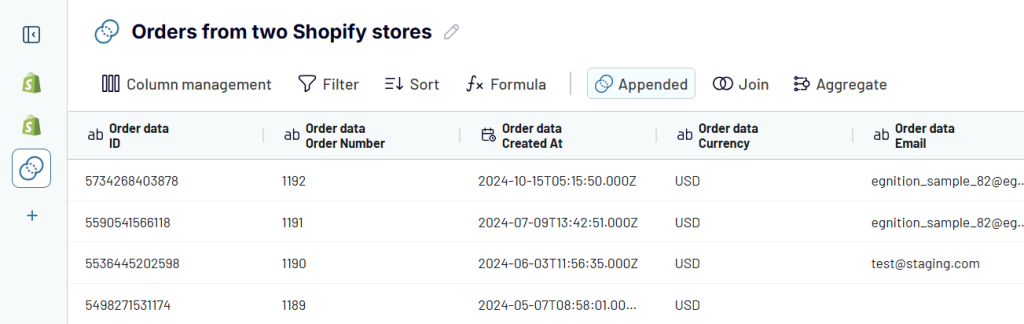
Now you have the option to see and make changes to the data from your Shopify account that’s going to be exported. You have full control over the columns—hide the ones you don’t need, reorder, rename, and rearrange them as needed. Your dataset will be exported based on these adjustments. Also, you can sort and filter your data, and even merge data from multiple Shopify accounts.
Step 3: Lead your data and schedule refresh
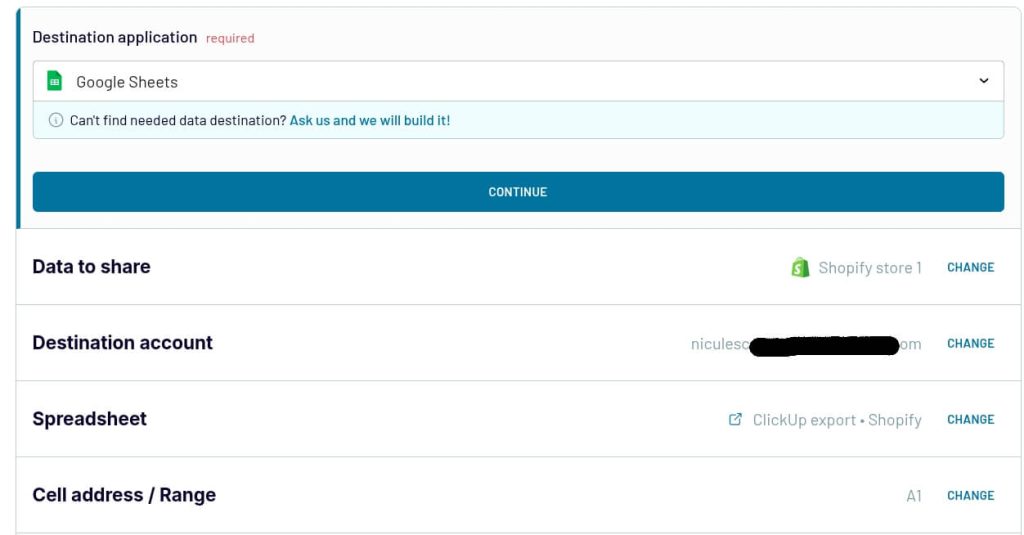
After making the adjustments, connect your Google Sheets account that was set as your destination. Select the spreadsheet and the sheet you want your data to be exported to. You can even create a new Google sheet for the export directly from the UI.
To make your analysis and reporting easier, automate data refresh. Simply choose a schedule that works for you, and you will have fresh data available for your next report.

Shopify connector as a Google Sheets add-on
Another great option, if you want to connect Shopify to Google Sheets, is to use the Coupler.io add-on. With this extension, you can manage data flows directly from the spreadsheet.
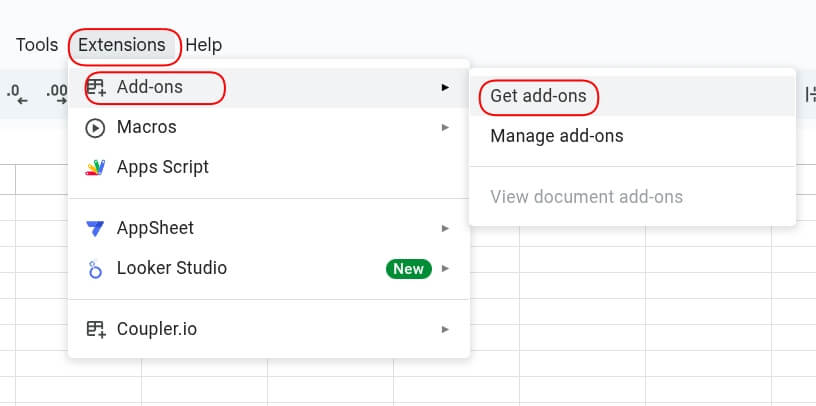
To get the add-on, go to Extensions, select Add-ons, and click on Get Add-ons.
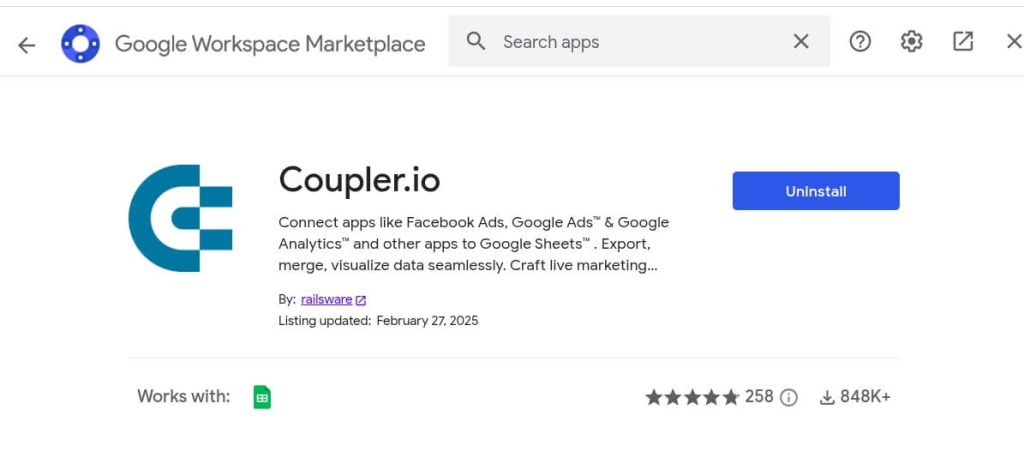
Search for Coupler.io and click on Install to get the extension. Or simply use this direct link to install it from Google Workspace Marketplace.
Close the pop-up and go to the Extension tab to launch the add-on.
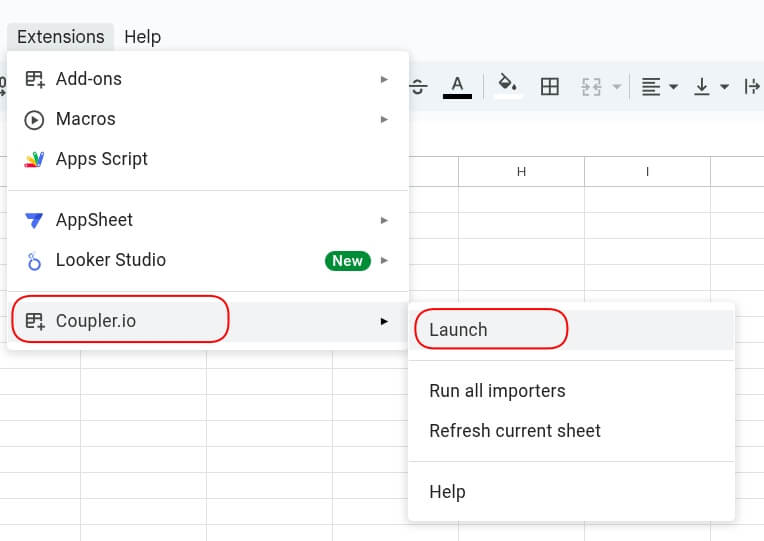
After you launch it, you can add a new importer (data flow).

All you need to do is follow the same steps without selecting a destination, as it is pre-set in the connector. In a matter of minutes, you will have all of the data exported from Shopify to Google Sheets with the help of the sheets add-on.
Shopify dashboard templates for data analytics
While Google Sheets offers many options when it comes to reporting, building reports from scratch is time-consuming. If you want to elevate your Shopify reporting efforts to the next level, we recommend using a pre-built dashboard template. Coupler.io provides ready-to-use solutions that help you save time and improve your reporting efforts. We’ve selected a few dashboards available in Looker Studio that will help you analyze your data and make informed decisions.
These dashboard templates are free to use, and your data will be updated on a schedule. This way, you will have fresh data for your next report.
1. Shopify orders dashboard
The Shopify dashboard template provides a comprehensive view of your store’s performance, helping you to make data-driven decisions across multiple areas.
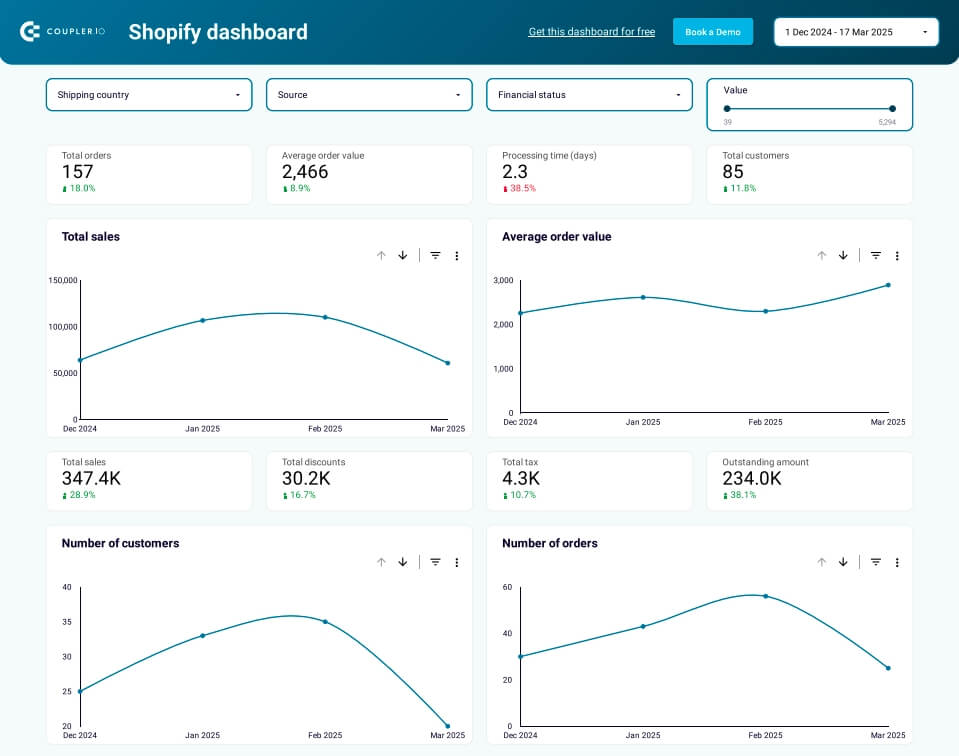
With this dashboard, you can:
- Analyze sales performance by tracking order values, revenue trends, and refunds
- Optimize shipping costs by breaking down orders by country and identifying cost-saving opportunities
- Identify top-performing products to prioritize inventory and marketing spend
- Analyze which channels drive the most profitable traffic
- Perform cohort analysis to understand customer retention and lifetime value
The dashboard template is available in Google Sheets and Looker Studio. Both versions are equipped with the Coupler.io connector, which automates data from Shopify. Check the Readme tab for the template setup instructions.
2. Shopify marketing funnel analytics
This Shopify marketing funnel analytics dashboard gives you a clear overview of your marketing performance. It connects data from Shopify, GA4, and ad platforms like Facebook Ads and Google Ads.
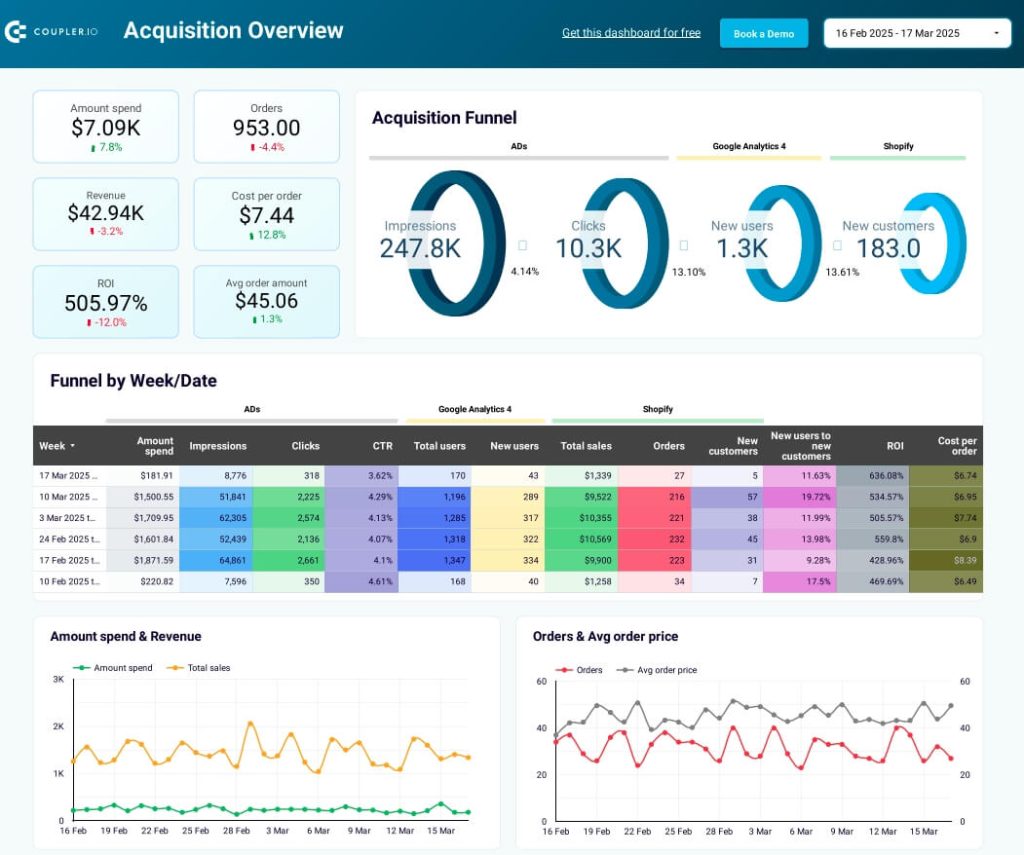
With this dashboard, you can:
- Track the full customer journey from ad impressions to sales
- Monitor key metrics like ROI, acquisition costs, and conversion rates
- Compare ad spend vs. revenue to maximize profitability
- Analyze weekly trends
- Optimize ad budget by platform
The dashboard template is built in Looker Studio. The Coupler.io connector automates data load from Shopify, GA4, and advertising platforms to populate the dashboard with your data. Follow the instructions in the Readme to get started
3. Inventory dashboard for Shopify
This is a free-to-use dashboard that offers a clear picture of inventory levels. It gathers data from your Shopify store.
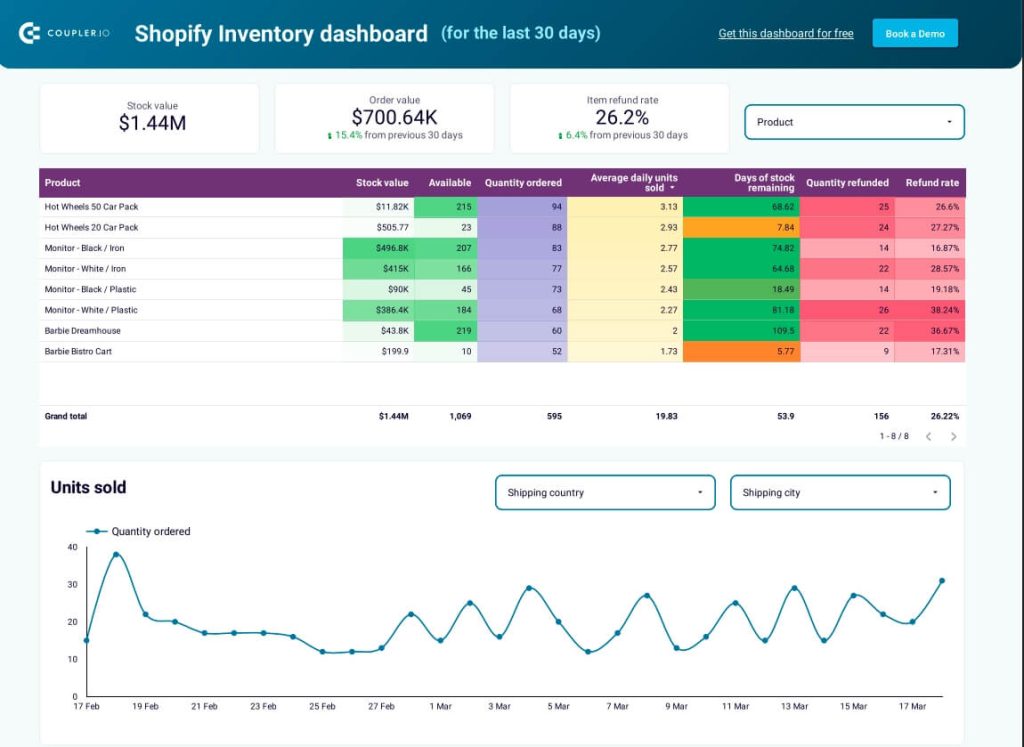
With this dashboard, you can:
- Gain full visibility into stock levels, order patterns, and return rates across all locations
- Track inventory performance with key metrics like stock value and turnover rates
- Analyze geographic refund trends to address region-specific issues
- Monitor daily sales to spot seasonality and demand shifts
The dashboard is available as a Looker Studio template with the Coupler.io connector. It lets you connect Shopify to Looker Studio to automate data load. Just follow the instructions on the Readme tab to get started.
Other ways to export Shopify to Google Sheets
There are other ways to export Shopify to Google Sheets. However, each one poses certain challenges. Let’s take a quick look at each method and see what you need to do to export your data.
Export data manually
The easiest way to export data from Shopify is to do it manually. However, while this method is simple, it’s not very effective. Why? Because you will have to export it every time you want to turn raw data into reports. Also, you will have to import it into your preferred tool before you can analyze it.
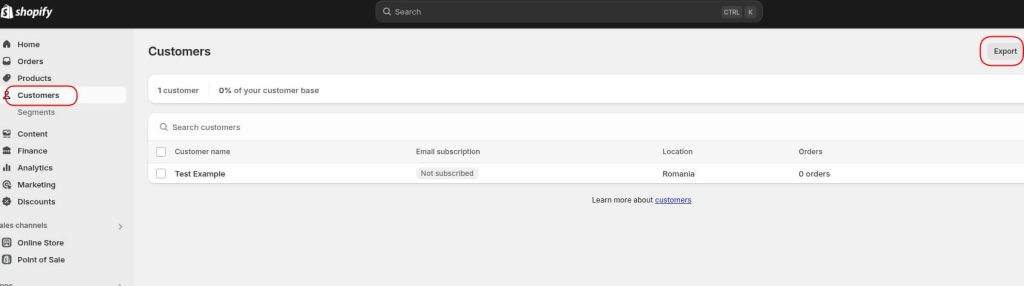
You can export different data entities, including products, customers, and orders. However, you need to export each one separately. Let’s export customer data to see what steps you need to take:
Go to the Shopify dashboard and click Customers. Then, click the Export button located in the top right corner.
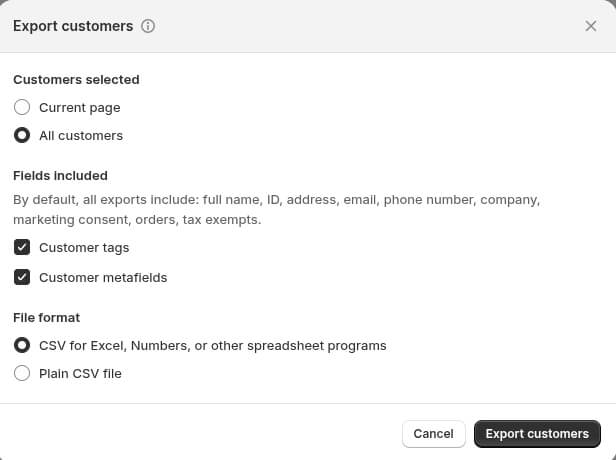
Select what you want to export and the fields you want to include. Lastly, choose the export format and click Export customers.
You will receive the export via email, from where you can download the CSV file. To add the data to Google Sheets, you need to log into your Gmail account and select the document and spreadsheet you want to use.
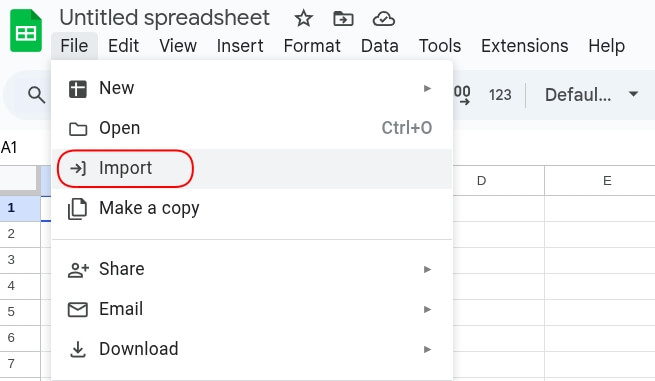
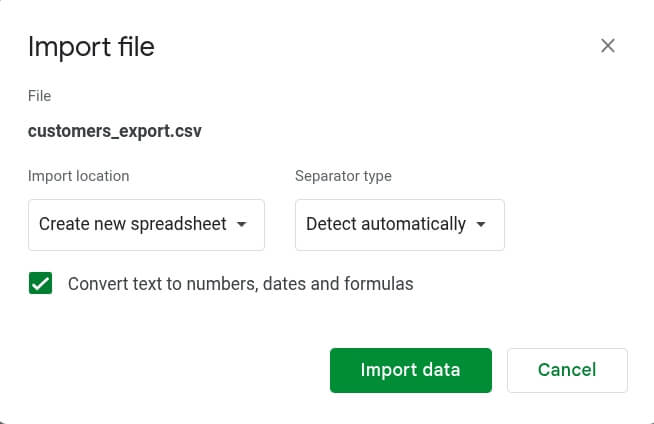
A pop-up will appear, and you have to click on Upload and choose the file from your computer.
After adding the file, you will be asked to select the location and the separator type. Lastly, click on import data.
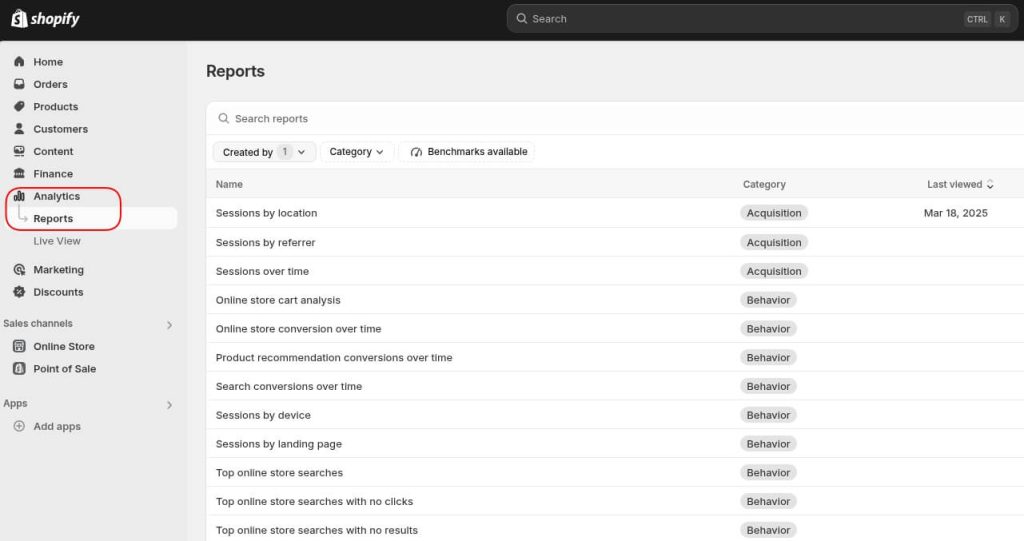
To avoid exporting each data entity separately, you can export Shopify reports. Go to your Shopify dashboard and select Analytics, then click Reports. Select the report you wish and then click Export. The report will be exported as a CSV table.
Then, you just have to follow the steps from above to import the data into Google Sheets.
Export data with a Shopify app
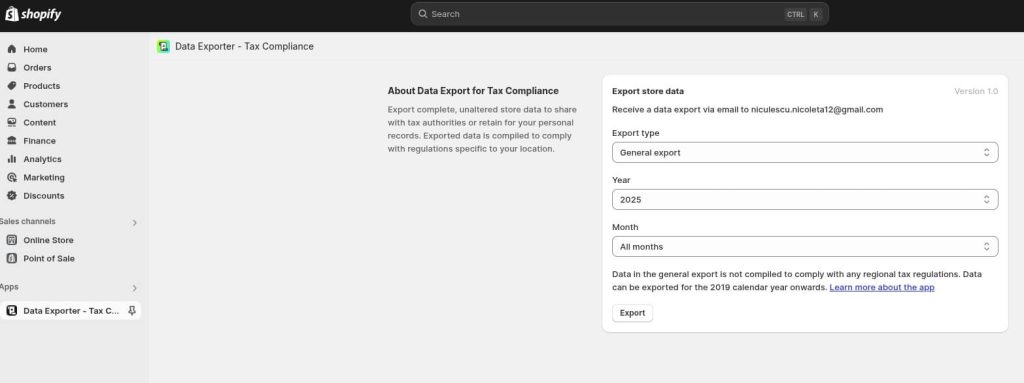
To export unaltered data that complies with tax regulations, you can also use Data Exporter, an app from Shopify’s store. First, you will have to download the app. Then, from your Shopify admin, go to Settings, click Apps and sales channels, and select Data Exporter. Choose the export type, year, and months. Once you click Export, the data will be sent to your email address. This can take up to 24 hours.
Once you receive the email, download the CSV file and import it into your Google Sheets. We’ve explained in detail how to import the data to Google Sheets in the previous section. Check out the full tutorial if you have any issues.
Export Shopify data via API
Lastly, this is a good option if you want to export all data. However, using the Shopify API requires technical knowledge, so it might not be accessible to all users. To use this method, you will need your API key and then use REST API to pull data like orders or customers. Next, you need to convert the API response into a CSV file that you can use in spreadsheets or reporting tools. You can also set up scripts to run automatically and import Shopify data to a data visualization tool or Google Sheets. This automation will help you save time.
While this method offers a lot of flexibility and efficiency, keep in mind that it is complex and you need somebody who knows how to work with APIs to avoid errors.
Connect Shopify to Google Sheets for better reporting
While Shopify comes with built-in reporting, some reports are considered a premium feature for Advanced and Plus Shopify plans. Lower plans offer only limited analytics. Also, these pre-built reports don’t offer enough flexibility. That’s why it’s best to export Shopify data to Google Sheets and create dashboards that are easy to monitor.
There are multiple ways to export data from your online store. While manual exports are easy, they are not very effective because you will need to do the same task repeatedly when you want to create a report. Also, you can only export reports that are pre-built.
Using a Shopify app can help you extract a year’s worth of unaltered data, but this is a better solution for tax compliance than for reporting. Lastly, using the Shopify API is a method that offers more flexibility, but it requires technical knowledge and skills.
Using Coupler.io for Shopify integration to Google Sheets is an effective, easy-to-configure method that allows you to turn raw data into insightful reports without needing technical skills to implement it.
Automate Shopify reporting with Coupler.io
Get started for free


